Taste the Rainbow Cake
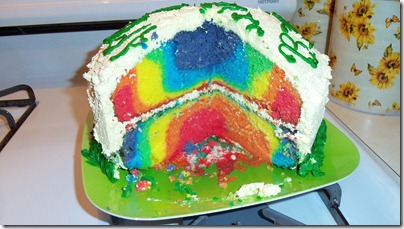
For my daughter’s birthday, by special request, I made a rainbow cake. It turned out really well. I followed the directions I found over on this blog:
how to make a rainbow cake!
I didn’t use the diet recipe because my 6 year old isn’t on a diet but that recipe does look super simple. ![]() I just followed the standard directions on the box mix I used.
I just followed the standard directions on the box mix I used.
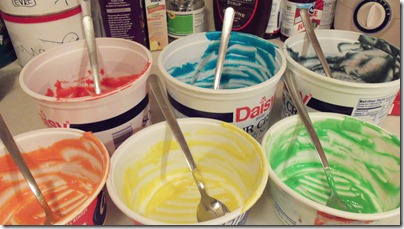
Mixing the colors was fun. Finding enough bowls to mix them in was a pain! LOL I didn’t mix the basic cake mix much at all, just a rough mix, since I knew the batter was going to get a longer mixing once I added in the colors. Then I divided into 6 roughly equal portions. I ended up with about 1 and 1/3 c. of batter per color. I used about 24 “dots” of gel for each color as well. The orange and purple you have to design yourself but I found that about a 3-1 ratio of yellow to red made a good orange, and the same for blue to red made a decent purple.
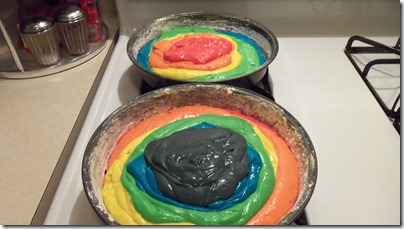
I followed the recipe creator’s instruction to use a greater amount of the bottom colors first, and also to reverse them in the pans.
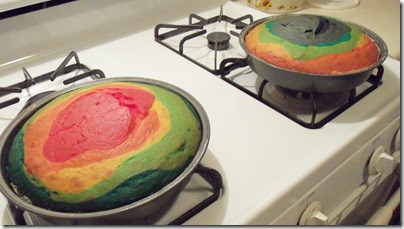
I needed to bake mine a little longer than the box called for (about 5-8 min), probably because I was using 2 boxes of cake mix, like the recipe called for. My cakes seemed more brown than the creator’s did, but I also used the egg whites and oil in mine so that may account for some of that golden color too.
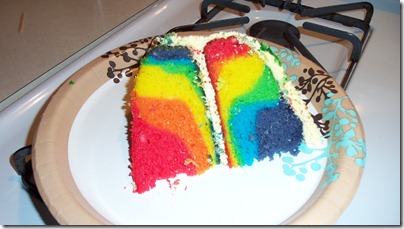
Once it was done though, and we cut into it, the vibrancy of the colors really came through!
The pudding/Cool Whip frosting mix tasted really good but it was just a tad sticky to work with. I recommend pushing the frosting. It’s a technique I was taught many years ago. You put a big glob of frosting on the middle of your cake and then spread it by gently pushing small areas of the glob away from the center rather than adding small globs a little at a time and pulling them toward you. Don’t try to “smear” the frosting or you’ll tear your cake.
Also, I opted to simply invert my bottom layer when I assembled it, rather than slicing some off to make it level.
It was so much easier than I thought it would be, the hardest part really was just mixing the colors over and over because that got a little old and repetitious because I did it by hand but otherwise, it was lots of fun, and the “ooh!” factor from my kids was the best part. ![]()
Okay, I “oohed!” too. ![]()
Cross-posted at At Grandma’s Table

